Week 356
28 October 2019Another week of writing: this time, writing a course on HTML and CSS for total beginners. This is slightly more practical than last week’s: more about doing than thinking.
But gosh, it’s hard. It’s a very short course, and so we’re going at a lick to cover a reasonable tour of the environment. Very quickly, we get into jargon and complexity, despite my best attempts to avoid it. One reason for this is my avowal to avoid jargon when I can, but to never tell you things that aren’t correct. So when I have to introduce a thing as a declaration or property or selector… I do exactly that.
Fortunately, the browser, and markup, are forgiving environments: they do their best to render whatever you throw at them, regardless of mistakes (and in part for long historic reasons). And we’re doing everything in the browser, without having to install software - CodePen makes for a great beginner IDE.
I’m also relying a little on asking the learner to trust me in the course of a short article. I hope that’s justified. What I’m really asking them is: “if things have briefly stopped making sense, can you trust me for a little? I promise to bring things into land in a little while - but we might have to briefly leave the ground.” Or, in plain English: I can give you clarity paragraph-to-paragraph, but not always sentence-to-sentence. Perhaps that’s a weakness in my writing style.
Still, having just written a course about more imperative styles of code, it’s nice to look at languages where I can show a learner the majority of the syntax in a few hundred words - and where the complexity is located in the implementation detail.
Of course, there are still cans of worms that I’m finding and then having to write my way out of. Writing about CSS, I was talking about styling rules overriding one another, and used this as an example:
p.intro {
  color: #ff0000;
}
I am most familiar with writing CSS colors in the format
#RRGGBB, where RR, GG, and BB are two-digit hexadecimal numbers; it’s also what I’ve seen used most in the world.And yet this adds extra complexity for the absolute beginner. I have a limited word count, and do I all of a sudden want to lose 100 words to explaining hexadecimal numbers? Not really. So I replaced it with this, for the time being:
p.intro {
  color: red;
}
which lets us focus on the real idea I wanted to write about (namely, how
p.introoverrides and extendsp).
In some down hours, I spent some time wrapping my head around KiCad. All my electronics work to date has been done with EAGLE. I’ve spent long enough with that piece of software that I’ve developed a kind of Stockholm Syndrome for it, despite its unintuitive nature (along with a large parts library). But a particular open-source project I’m working on is not ideally suited to EAGLE, especially if other people are to work on it, and I feel that future versions of it may be better supported in an open-source tool. Hence investigating KiCad.
I’ve never really got my head around KiCad before. Partly that’s time; partly that’s it behaving much more like most schematic capture/EDA tools (where you do one, then the other), unlike EAGLE’s merging of the two functions. It required a shifting of my mental model.
What helped me overcome this hurdle was Chris Gemmell’s Getting to Blinky 5.0, and I wanted to write about that quickly because it’s helped me thinking about teaching new topics.
Getting To Blinky teaches KiCad by going through the whole process of making a circuit board. It’s a simple circuit: a timer that flashes an LED, with a coin cell battery. The course takes the viewer through making a schematic symbol, drawing up a schematic, annotating it and matching it to footprints, making a new footprint where one is missing, laying out a board, and getting their board fabricated.
What I like about the course that it covers “one of everything”: at the end of it, you have done each major task that you’ll ever need to do exactly once. You can then adapt what you’ve learned to your own work. I found it particularly helpful coming from another tool as, at each stage, I was mapping what Chris showed me to what I knew. I like the focus on end-to-end, with a simple (eight component) board - and in particular, teaching making symbols/footprints early on.
I am not sure what it’s like for the total beginner - it goes quite fast, for sure (although the pause and rewind buttons are underrated features of video content). But for me, it gave me exactly enough of the tour that with a little bit of time each day across the week, I had designed a development board for a potential project from to-to-bottom in it:
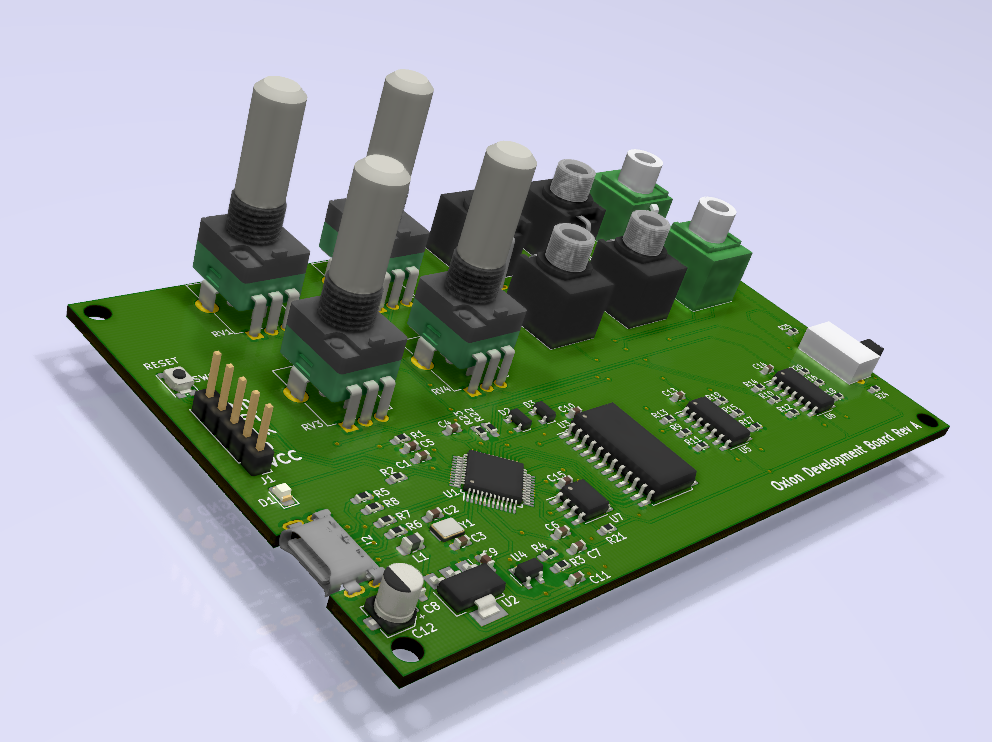
Also, it has a surprisingly good 3D layout preview and raytracer in it.
This project is to be filed away for November, but it was nice to pick up a new tool, and thinking about how somebody else was teaching it helped me think about my own teaching.